If you are anything like me and absolutely hate waiting for your nails to dry, or love going to the salon to have gel nails applied but can’t afford to have them done on a regular basis then I may have just found the product for you. Red Carpet Manicure not only have an amazing selection of nail polishes to buy on their website but also a Professional LED Gel Kit which equips you with all you need to create salon perfect gel nails that last for weeks and do not chip! I have been lucky enough to test run a kit for myself and so will (hopefully) be able to give you some great tips and advice with regards to using the product.
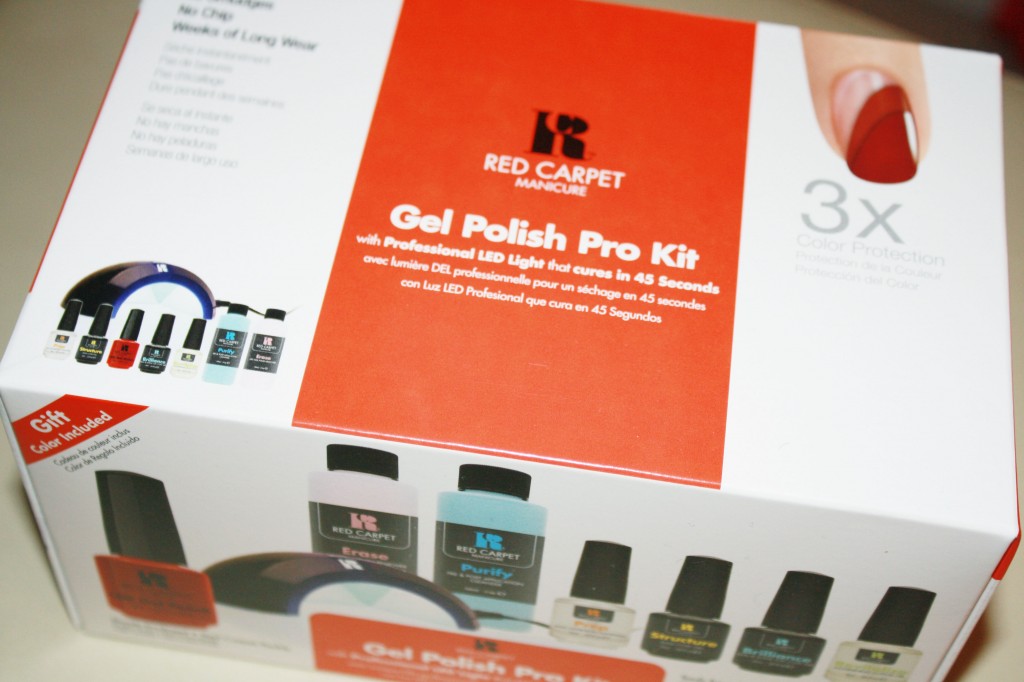
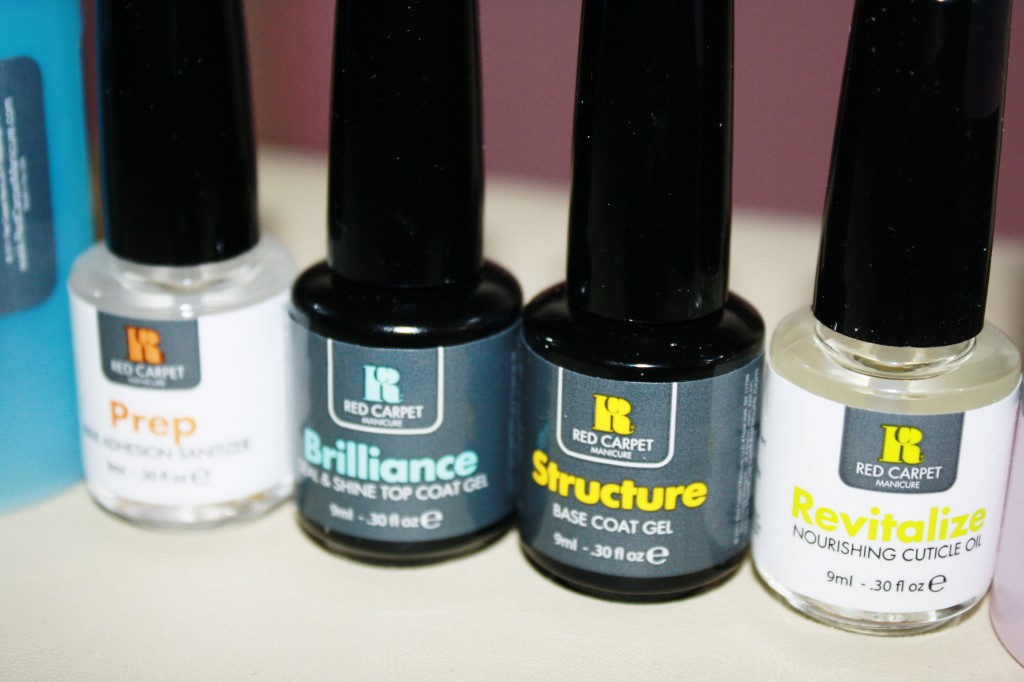
Unbelievably, creating the gel nails yourself is extremely easy to do and once you have the hang of it, you can achieve perfect nails in just under ten minutes. The kit itself (which is £89.95 from redcarpetmanicure.co.uk) includes a base coat, polish remover, LED light, top coat, sanitizer and post and pre cleanser. It also includes one shade from RCM’s outstanding collection; however you can purchase other shades from their website. The kit also includes comprehensive instructions, which should really be followed for the first time of use as it can seem a little daunting having lots of products and not really knowing which goes first.
To begin, you should remove any remaining nail polish and cleanse with the polish remover. This is quite a simple step but is imperative as you don’t want any lumps and bumps in your gel nails as they will show up. Secondly, you then apply the sanitizer to your nails – which is in a nail polish bottle so is very easy to sweep onto each of your nails.
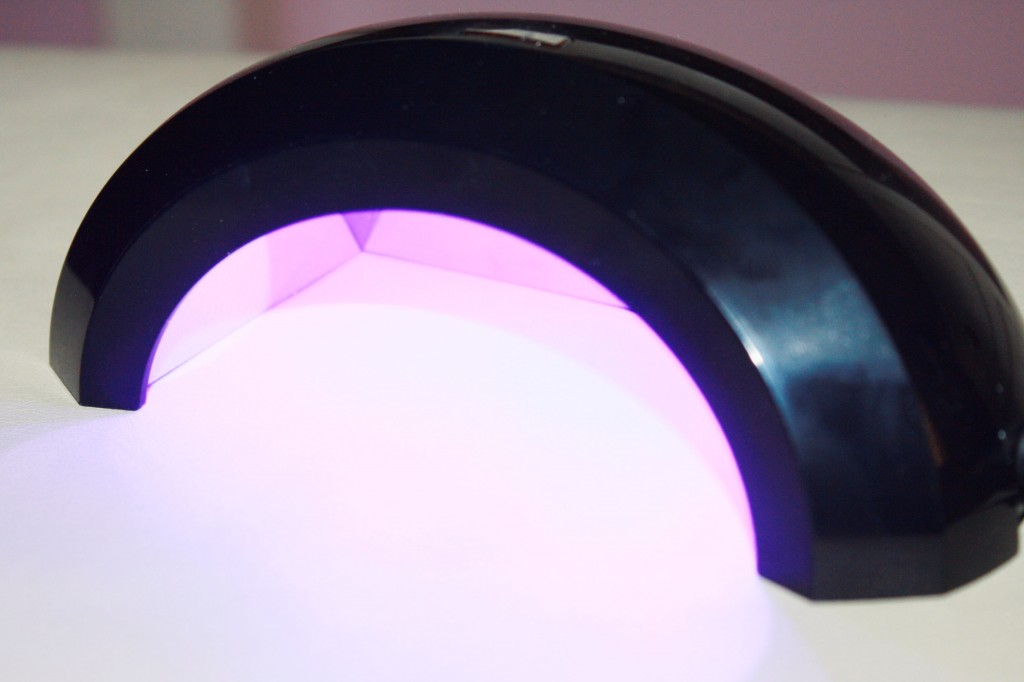
You then are ready to start applying your coats and curing them under the LED light. The first coat to go on is the base coat, which should be applied as neatly and evenly as possible as this is what the colour is going to sit on, so you want to try and make it as even as possible. As the coat is clear, it is quite hard to see where you have applied it already, however if you turn on the LED light and pop your nails underneath, the base coat glows bright white – which not only cures the coat but also allows you to see where you have applied it. After you have ‘cured’ each coat (or hardened it underneath the LED light for 45 seconds – the LED light turns off automatically after 45 seconds so you don’t have to sit there with a timer!) you will notice that the surface is quite tacky, this is completely normal and you will have a chance to remove the sticky surface later.
You then pop your nails underneath the LED light and they seal into place!
You then apply the colour coat (so you can either choose the colour included in the kit, or purchase other colours online) and cure it for 45 seconds. It is easier to do the four fingers and thumb separately as otherwise the colour tends to run. You can apply as many coats as you like (as long as you cure each coat afterwards), dependent on how dark/light/bold you want the colour, but be sure not to overload your nails as otherwise you get a messy looking finish. After you are satisfied with the colour, you can apply the top sealing coat which again you should be sure to make as neat as possible as this determines the overall look of the nails. You then pop your nails underneath the LED light and they seal into place.
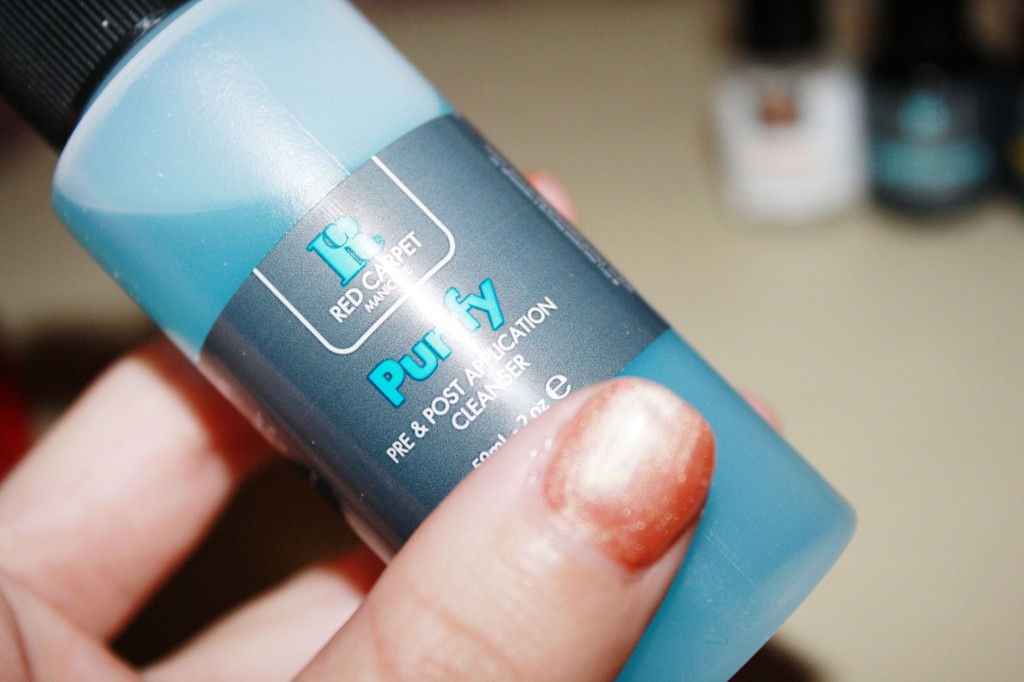
You may notice after this step that your nails are still tacky, and on my first go (having not REALLY read the instructions properly) I thought this would dry out of its own accord. After about 10 minutes I realised that there was a final step – removing the sticky finish. You simply pour a little of the post & pre cleanser to a cotton wool pad or tissue and gently wipe over each of your nails to magically reveal the smooth surface underneath (without removing any of the colour).
All in all, you are probably better off following the instructions included in the kit rather than my waffling review – however the real point I’m trying to make is that the results this kit creates are definitely salon worthy and take such little effort and time! Similarly, curing the nails also mean that if you have a glittery or glossy polish, this effect isn’t lost when the nails dry – as RCM’s kit creates high shine and glossy results.
Overall, I think it is an absolutely fantastic product which I didn’t quite expect to provide such amazing results. I love experimenting with colour, nail art and different styles however I hate waiting for my nails to dry and no matter what I do (flapping them in the air, blowing them with a hair dryer, twirling round the garden) they never seem to dry quickly and I am usually left immobile for around half an hour while I wait for them to dry of their own accord. RCM’s kit allows you to create salon worthy nails in such a short amount of time, and there’s no waiting around for one coat to dry – as the LED light cures and hardens each coat immediately after application. I love the kit and although it might seem a little expensive, I can honestly say it is worth every single penny. My only regret is that I didn’t discover RCM earlier!
For more information on the kit, other shades visit RCM’s website here – https://www.redcarpetmanicure.co.uk/starter-kits
