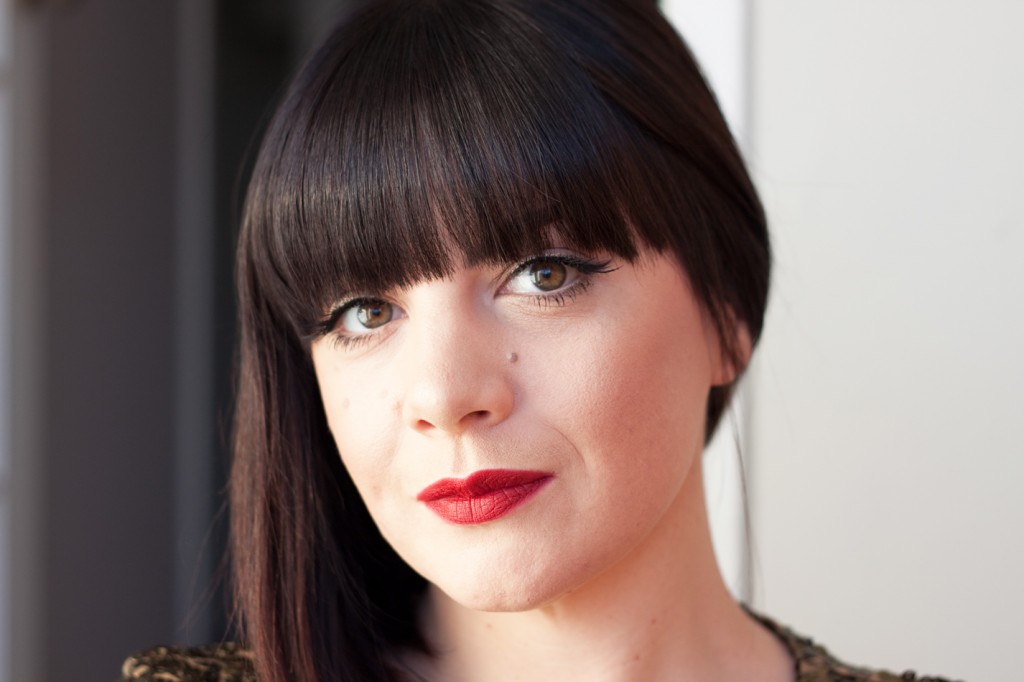
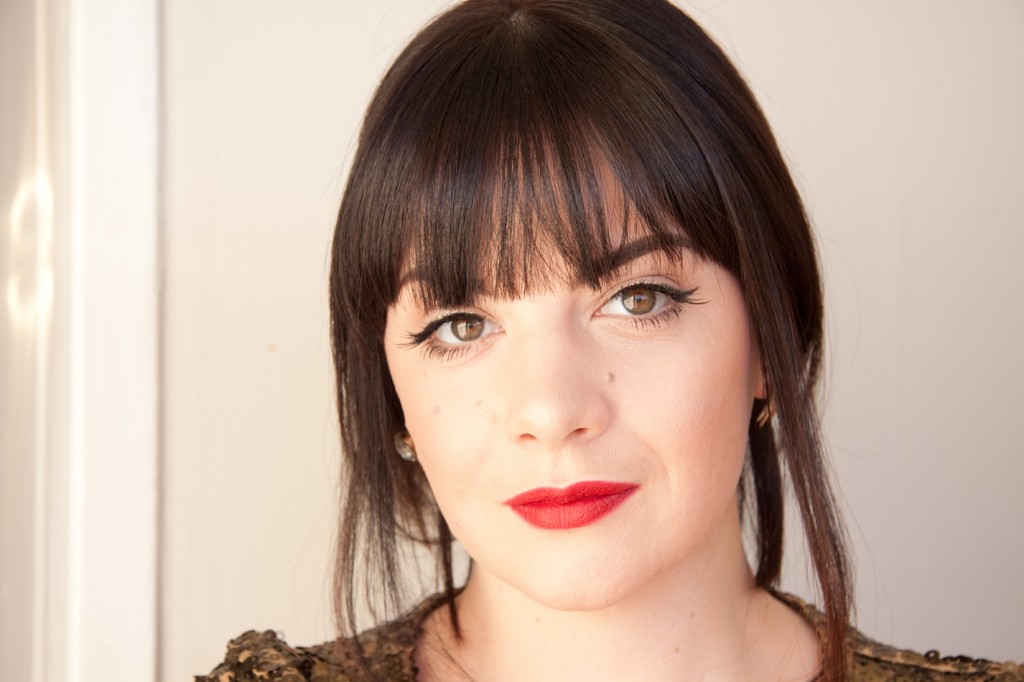
One of my favourite make up looks is the classic red lip. It’s a glamorous, timeless look and suits everybody.
I first started by moisturizing my skin with Avene Hydrance Optimale Rich Hydrating Cream. I used this just before I applied my foundation to ensure a smoother application.
I used a Real Techniques Expert Face brush and buffed in MAC Studio Sculpt in NW20 and Illamasqua Skin Base in 04 to get the perfect colour. They work very well together as they have a similar consistency and they photograph beautifully.
I then used Bobbi Brown eyeshadow in the colour mahogany with a Ruby and Millie angled brush to give my eyebrows a little more colour and definition. Despite having a fringe, I still love making sure my eyebrows are defined, as they are the frames to your face and help to finish off the entire look. I also used MAC eyebrow pencil in the colour Spiked.
I then used my ring finger and blended MAC ‘Painterly’ all over my eyelids. I used a small brush to blend the edges and with a large fluffy brush I used MAC Brule all over the eyelid. I blended Urban Decay Virgin into the crease to give my eyes a little bit of definition. I used Collection’s Lasting Perfection concealer in number 2 under my eyes and to cover blemishes.
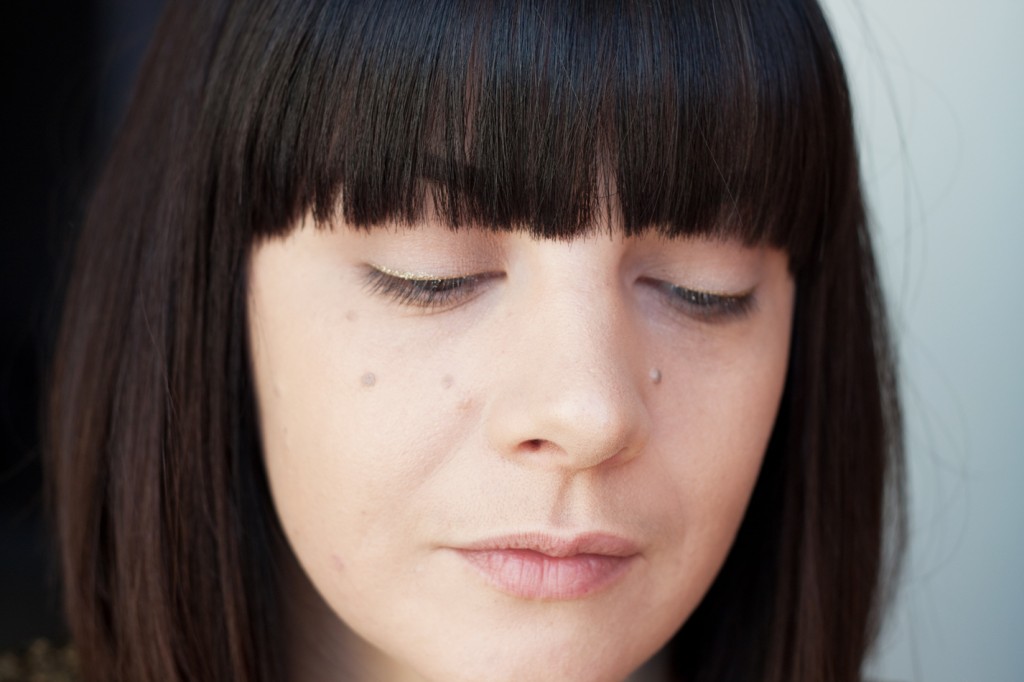
I added some MUA gold glitter eyeliner on my upper lash line which gives a pretty, surprise sparkle.
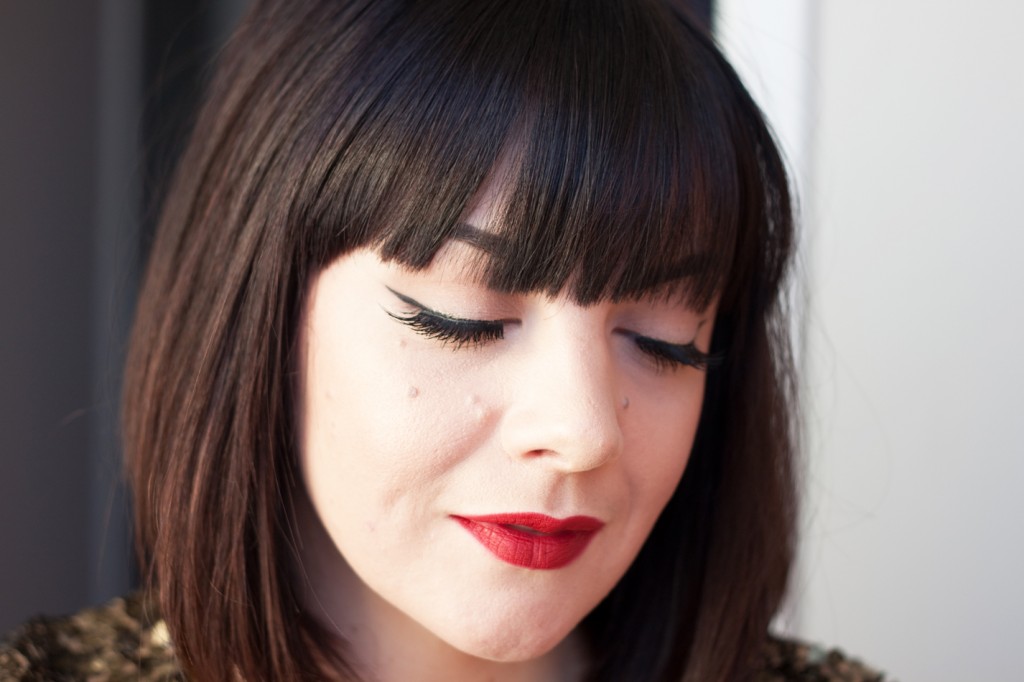
To create the ‘cat’ style smoky eyes, I used Rimmel Glam Eyes Liquid Liner in ‘black’ and created a sharp flick. It’s best to do this by looking down into a mirror and resting your elbow on a flat surface. I start from the inner corner but you might find it easier to draw in the flick first. I have been doing this since I was 13 years old and practice really does make perfect. If you find it difficult, you could draw the line in with an angled brush using eyeshadow which is easier to wipe away if you make a mistake. When you are happy with the shape, you can go over the line with black eyeliner.
For a more dramatic look, I added Girls Aloud Nadine false eyelashes. Remember to let the glue go tacky before applying and it is easier if you use tweezers to pop the lashes into place. If you place the lash on top of your lash line, wait 5 seconds then use the tweezers to put each end in place. I then added Bourjois Volume Clubbing mascara in black to my bottom lashes and in the water line I used Rimmel Scandaleyes in the colour Nude.
Before deciding what colour blush to use, I did my lips first. Matte lipstick can be very de-hydrating so before I started applying the colour, I used a bit of Carmex lip balm. By applying a balm beforehand, the colour of the lipstick you choose often lasts much longer than just a lipstick alone, so it is worth getting into the habit.
Using a MAC lipliner in the colour Brick, I then lined my lips before colouring my whole lip in. I then used MAC Russian Red straight from the bullet and patted the colour all over. I blended it by rubbing my lips together a few times and blotted with a tissue. I repeated this process several times and blotted again to ensure a bold colour. I then neatened the edges with the lipliner and tidied any stray colour with a tissue.
Red lipstick can be very draining, especially if you have pale or typically ‘english rose’ style skin so I needed to inject some colour back into my cheeks. I used Collection’s Mosaic Glow Bronzer which not only gives some colour but it has an amazing sheen. Since this look is for a Christmas or New Year party I wanted a little more glow, so I used MAC Soft and Gentle on the tops of my cheeks to define my cheekbones a little more and create a really soft, gentle (yet party ready) look.
You can wear your hair in a variety of styles with this look but I especially like an up-do as it means the attention and focus of the look is the red lip.
